Once your account setup is complete, you would want to create your first course. This document provides comprehensive information about courses, their categories, and accessing them.
What is a course – Course is a space where you add learning content in the form of study material, activities and resources for the students. Courses may be created by admins, course creators, managers or a custom role having course-creation permissions. Teachers can then add course content which best suits your learning goals.
Course categories – With categories you can organize courses which makes them easier to be searchable by LMS users. The ‘Main Category’ is the default course category on a new account. You can rename it from the ‘Manage Courses and Categories’ page.
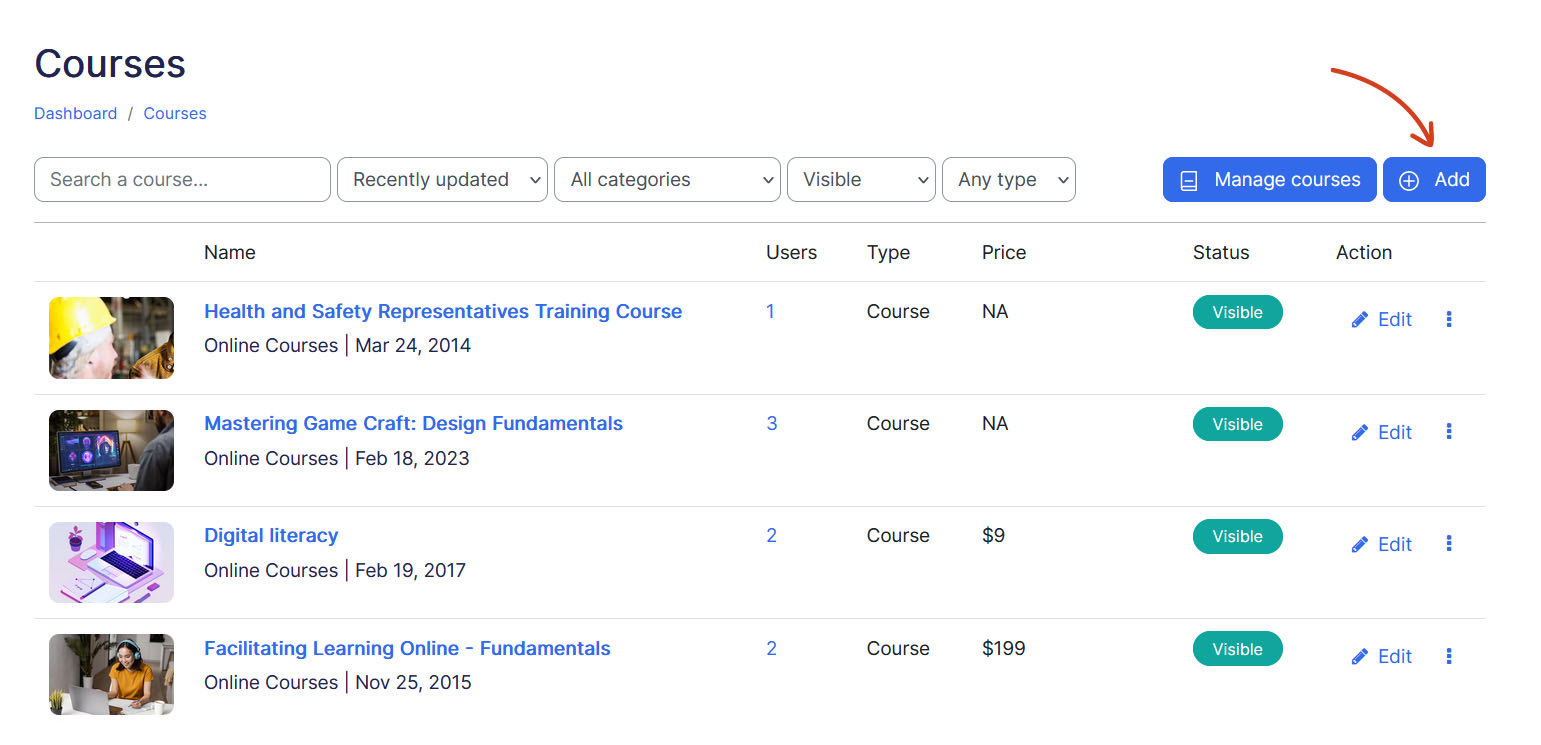
Accessing courses – Accessing courses is straightforward – simply navigate to the ‘Courses’ page under the Courses menu item in the left navigation. Here, you’ll find a comprehensive list of all available courses on your ScholarLMS site, regardless of their categories and visibility status.
Adding a course #
To add a course, click on Add a new course button.
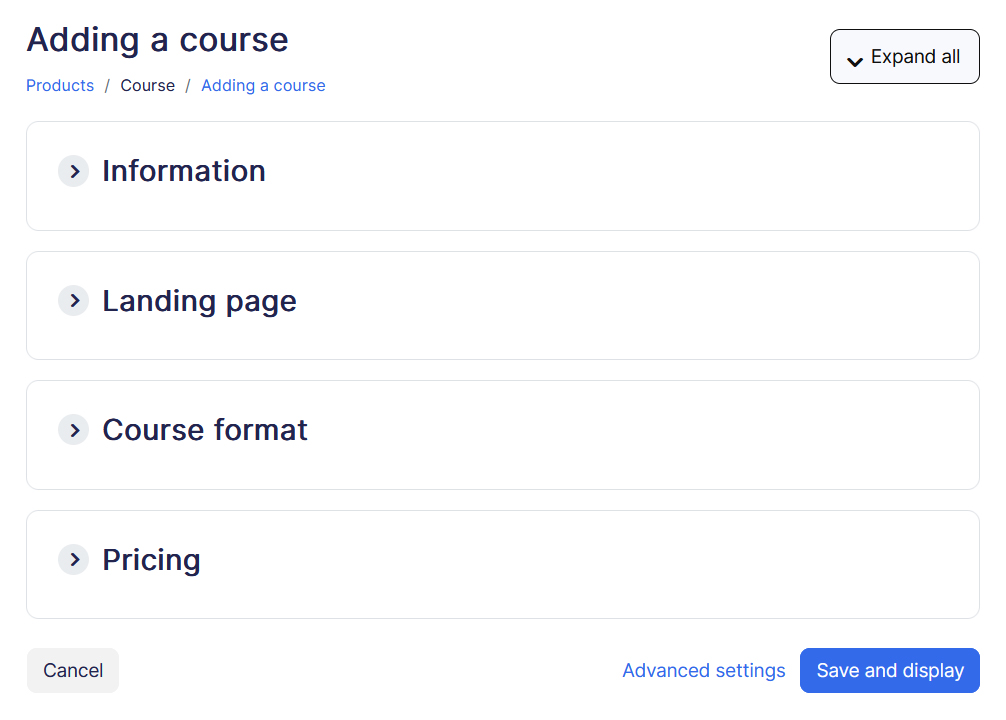
Next you should be redirected to course settings page. Following in this guide, we will be explaining each tab of the course settings page.
By default a teacher can’t add a new course. To add a new course, you need to have either Administrator, Course Creator or Manager role.
Course Information #
This section is used to configure essential details of the course. It provides course creators with the necessary fields to define key attributes such as the course title, category, start and end dates, description, and featured image. Below are the fields available within the Information tab:
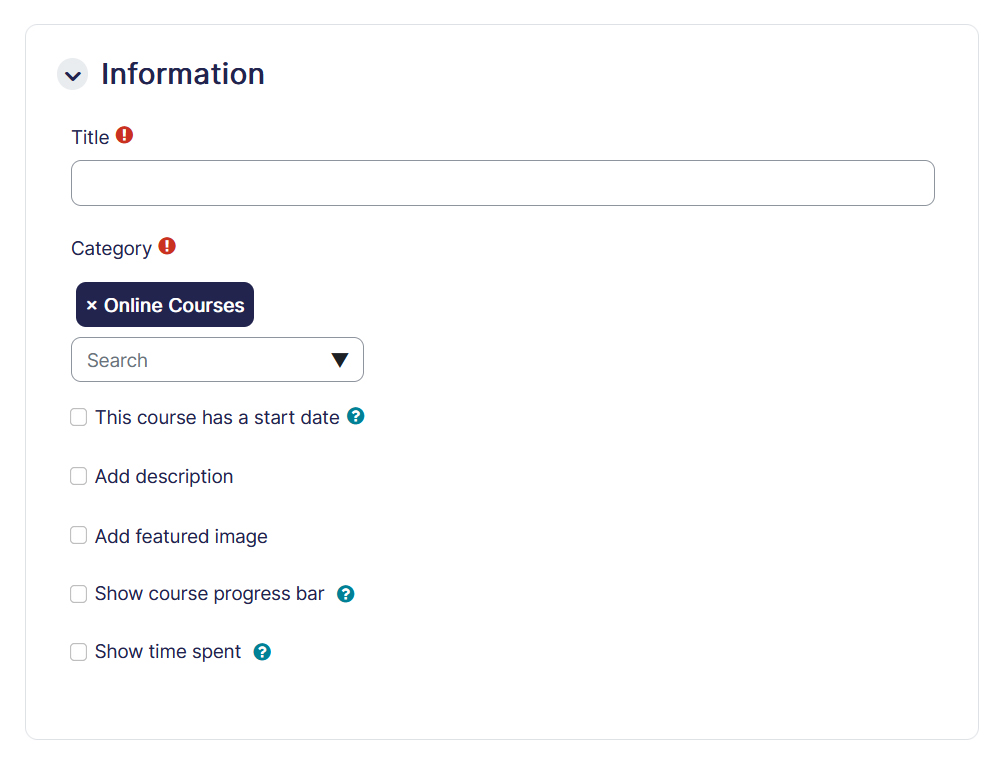
- Title: Give this course a name which is meaningful for your users and team members. It’s a required field.
- Category: Add this course to a category.
- Course start date: Start date determines when the course becomes available to students for enrollment and access to course materials.
- Course end date: This is an optional field. You can enable the course end date to determine whether the course should be included in a user’s list of courses. When the end date is past, the course is moved from active to past courses tab.
- Featured image: Put a featured image of your course or the one that identifies with your course offering. Recommended file types are GIF, JPEG and PNG. To have a consistent look of the available courses block we recommend uploading 600×400 pixels or 3:2 aspect ratio images.
- Course progress bar: This option allows learners to see their progress within the course.
- Time spent: The time spent feature records the amount of time learners spend engaged with the course materials.
Landing page #
The course landing page serves as the gateway for prospective learners to discover and explore the course offerings. It plays a crucial role in attracting and engaging potential students, providing them with essential information and insights into the course content, structure, and instructor.
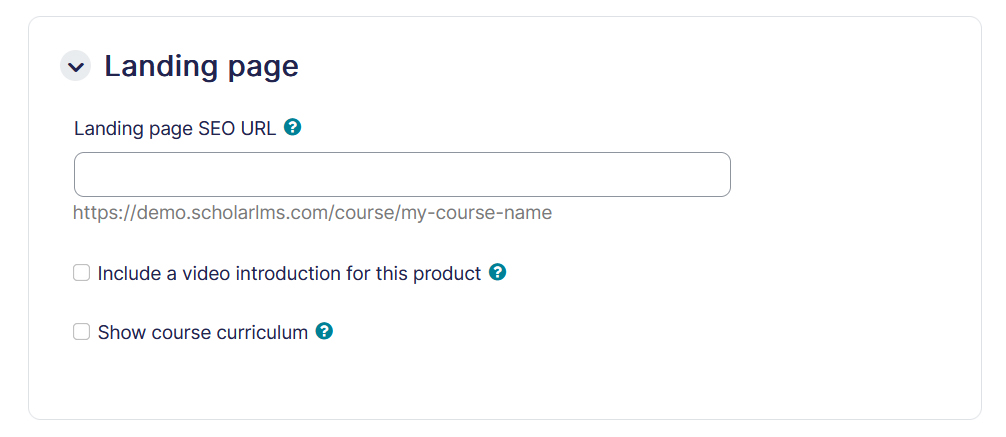
- SEO URL: The Landing Page SEO URL feature allows course creators to customize the URL of the course landing page for better search engine optimization (SEO) and user-friendliness. By customizing the SEO URL, the course landing page becomes more discoverable to search engines, potentially increasing organic traffic and improving the overall visibility of the course.
- Video introduction: Add Video Introduction feature enables course creators to incorporate a video introduction on the course landing page, providing an engaging preview of the course content and instructor.
- Course curriculum: Show Course Curriculum option allows course creators to display the course curriculum directly on the landing page, providing visitors with a comprehensive overview of the topics covered and the structure of the course. Displaying the course curriculum on the landing page helps visitors understand what the course entails and what they can expect to learn.
Course formats
#
The course format determines how the course participants would see the course content. There are two options to choose from, as per your learning goals you can select one of them. Each format further offers more customization settings. In this article we will discuss the commonly used and recommended course formats.
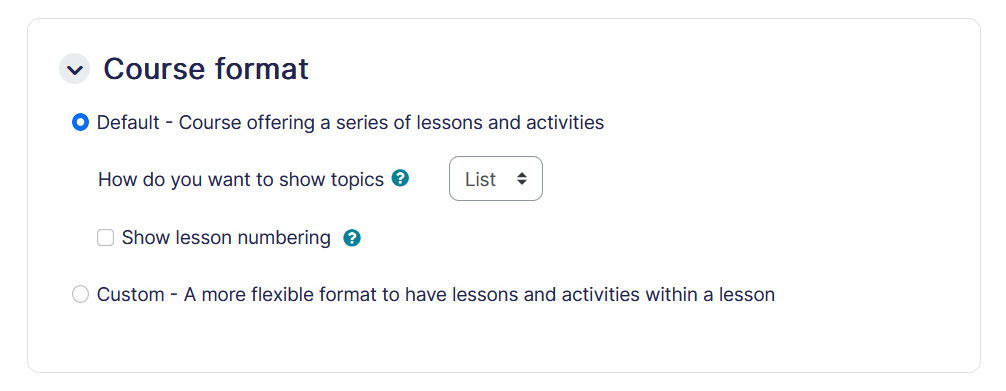
Topics and Tiles Format (Default)
#
The Default format offers a structured series of lessons and activities, providing a straightforward approach to course delivery.
- How do you want to show topics:
- List View: Displays topics in a linear list format, allowing learners to navigate through the course sequentially.
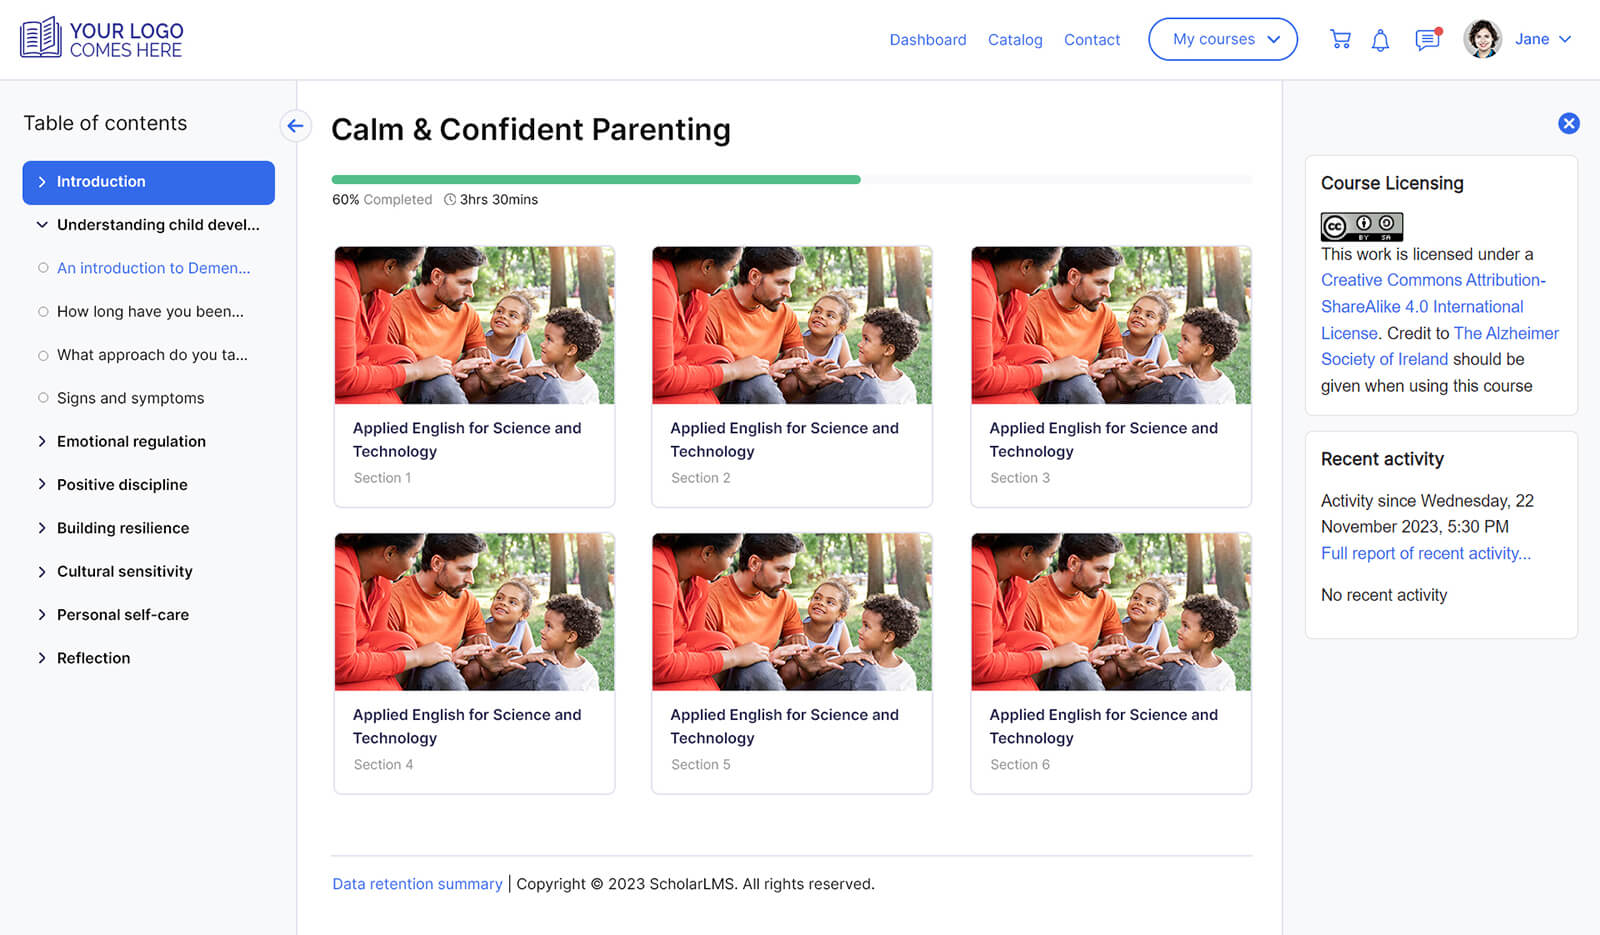
- Card View: Presents topics as individual cards, providing a visual overview of the course content and enabling learners to explore topics flexibly.
- Show lesson numbering: Enables or disables the display of lesson numbering to indicate the sequence of lessons within the course.
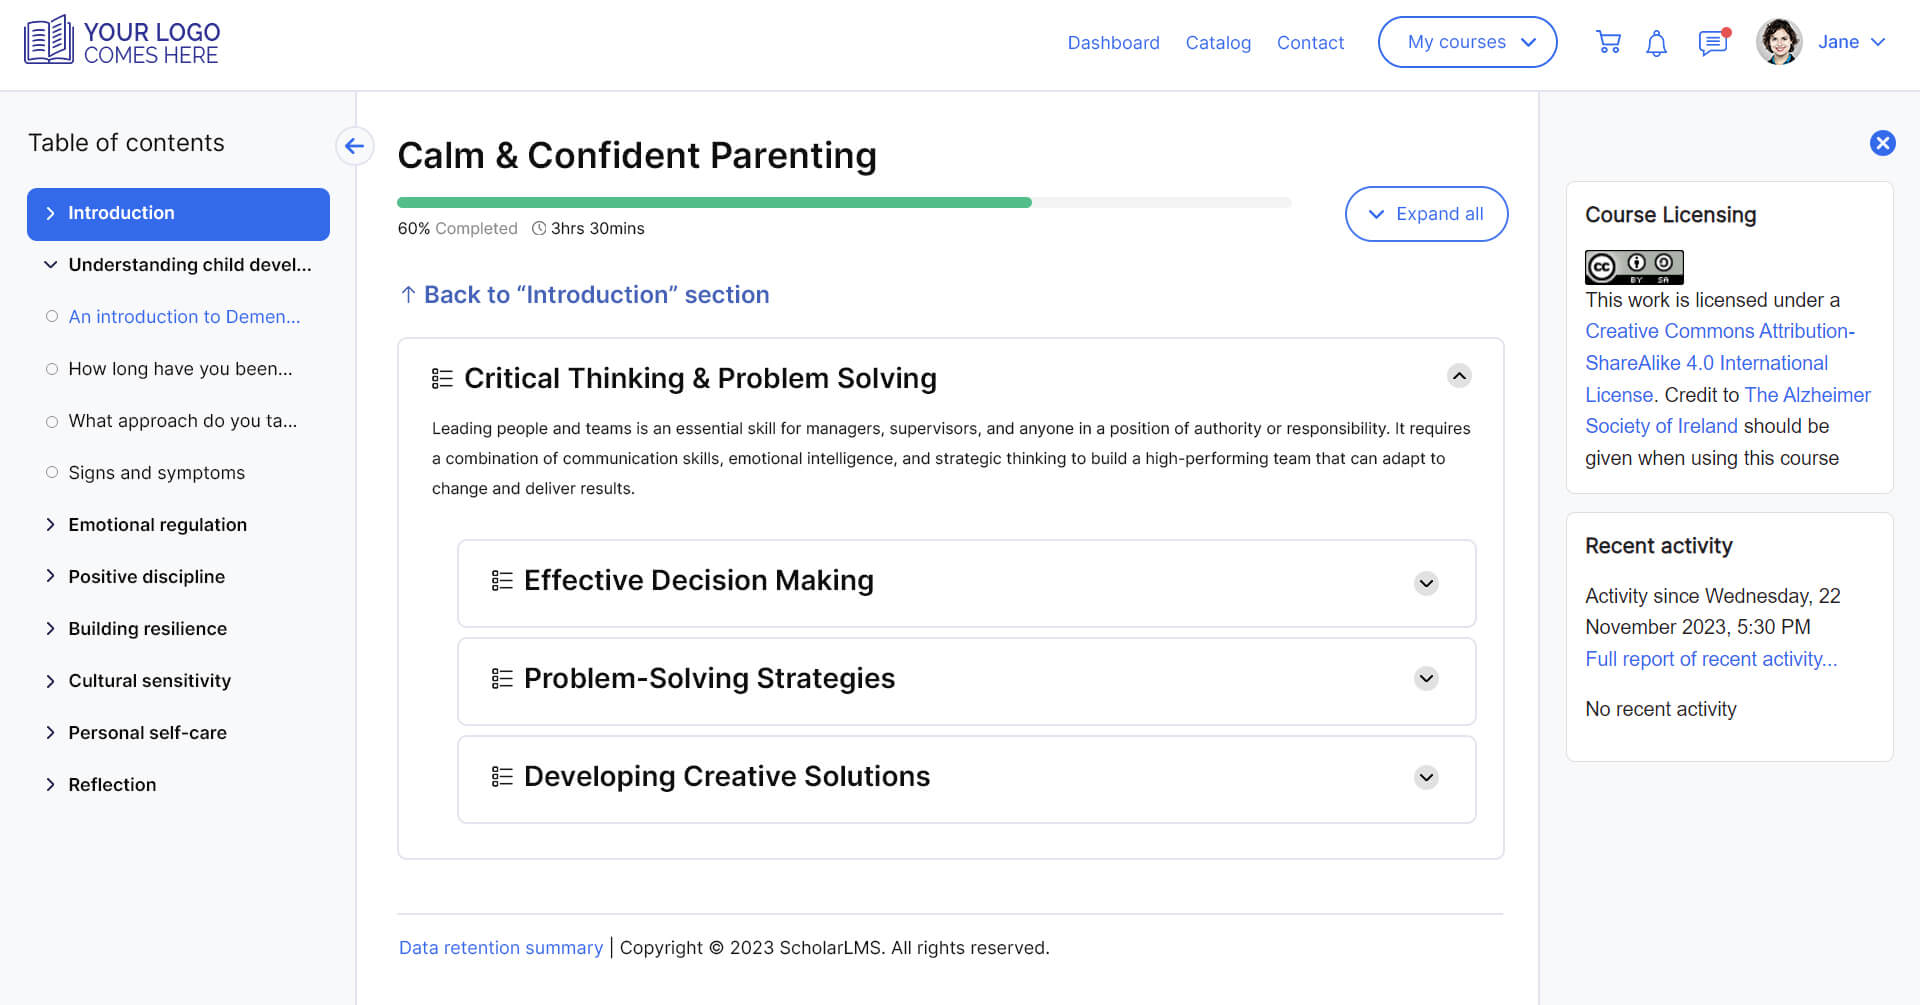
Flexible Sections Format #
The Flexible Sections course format facilitates the creation of nested sections within a course. This format allows for greater flexibility in organizing course content by enabling the nesting of sections within other sections. Each section can be expanded or collapsed for ease of navigation.
When a section is collapsed, its name is displayed as a clickable link leading to a separate page. On this separate page, a ‘Back to…’ link is provided for easy return to the main course structure. If a section contains both activities and subsections, the activities are prioritized and displayed first before any subsections.
Pricing #
The Pricing tab offers course creators the tools to monetize their courses effectively, making them accessible to potential learners while providing flexible pricing options.
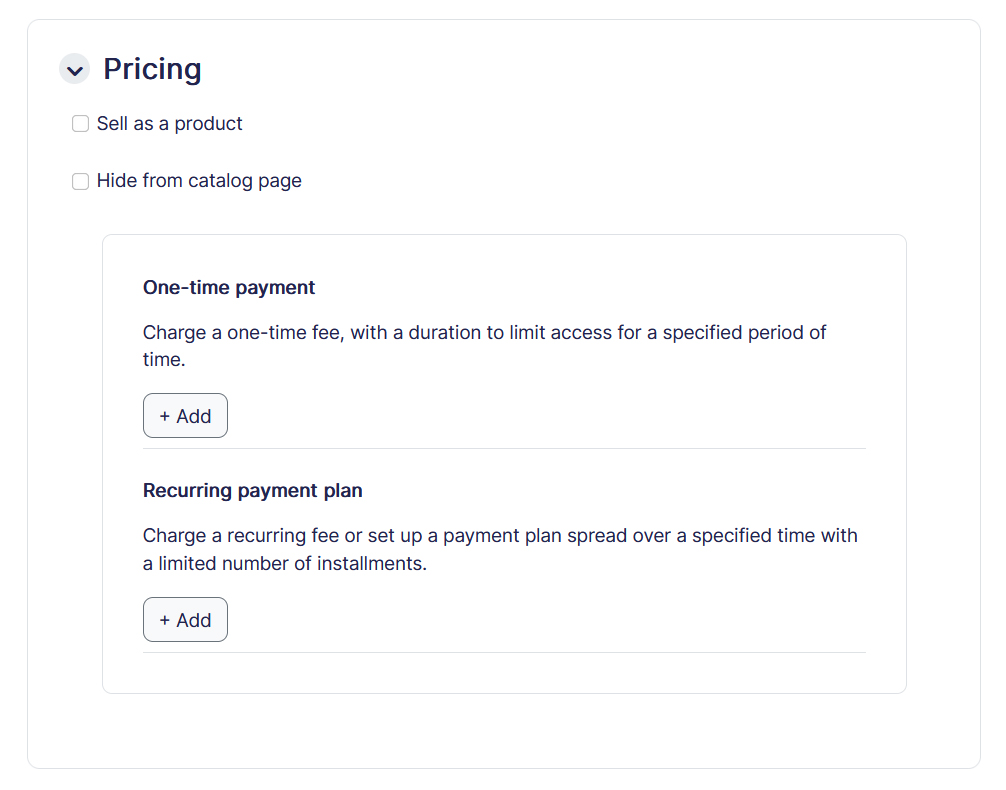
- Sell as a Product: Enable this option if you would like to sell this course as a product. When enabled, the course becomes available for purchase, allowing learners to buy access to the course content.
- Hide from Catalog: This option can be useful if you want to sell the course but prefer to keep it hidden from the main catalog. Enabling this option ensures that the course is available for purchase but does not appear in the catalog page. This may be desirable for courses with limited availability or for targeted promotions.
- Prices: Prices allow you to set the pricing structure for this course, providing flexibility in how learners can purchase access.
- One-Time Payment: Charge a single, upfront fee for access to the course. You can also set a duration to limit access for a specified period of time.
- Recurring Payment Plan: Set up a recurring fee or payment plan spread over a specified time, with a limited number of installments. This option enables learners to pay for the course in smaller, manageable payments over time.
Once done, click on the ‘save and display’ button and you will be redirected to the course builder page where you can start building the course content.