
Time Tracker is a tool designed to track the time spent by users in a specific activity/resource and then in the entire course of the LMS. In this documentation we will explore how you can set up your LMS to take advantage of this feature.
How it works? #
The Time Tracker works best if you understand the few terminologies and how they work with each other.
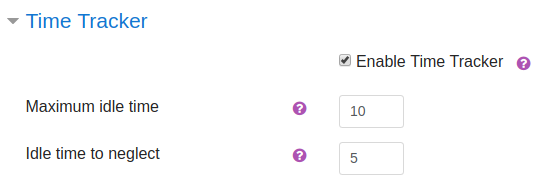
- Maximum idle time: After how long (in minutes) of no activity(idle time) on the screen, should the idle-time check pop-up window appear.
- Allowed idle time: This is an average amount of time that a student would take to go through a single page of this activity/resource. This must be less than ‘Maximum idle time’.
- Autosave: By default the autosave time is set to two minutes. This will be helpful in case the student accidentally closes the browser or in case the browser crashes for some reason.
Lets understand these settings with an example. Suppose you have a Book resource having 5 chapters, and each chapter is further divided into short topics. Let’s say the reading time for a topic is 5 minutes (on an average), and the student should not take more than 10 minutes in the worst situation. In this case, you would save 5mins to “Allowed idle time” apparently the reading time and 10mins to “Maximum idle time”.
What happens after a student crosses the Maximum idle time limit? #
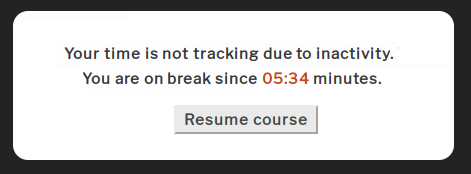
If the student shows no activity on the page for more than “Maximum idle time” which is 10 minutes in our example, a pop-up window opens, and only 5 mins will be logged to his/her record.
How to enable Time Tracker #
To set up Time Tracker is easy, follow these steps to enable Time Tracker in an activity/resource. Currently Time Tracker works only on the following activities/resources:
- Book
- Lesson
- Page
- SCORM package
- Quiz
- H5P Interactive Content
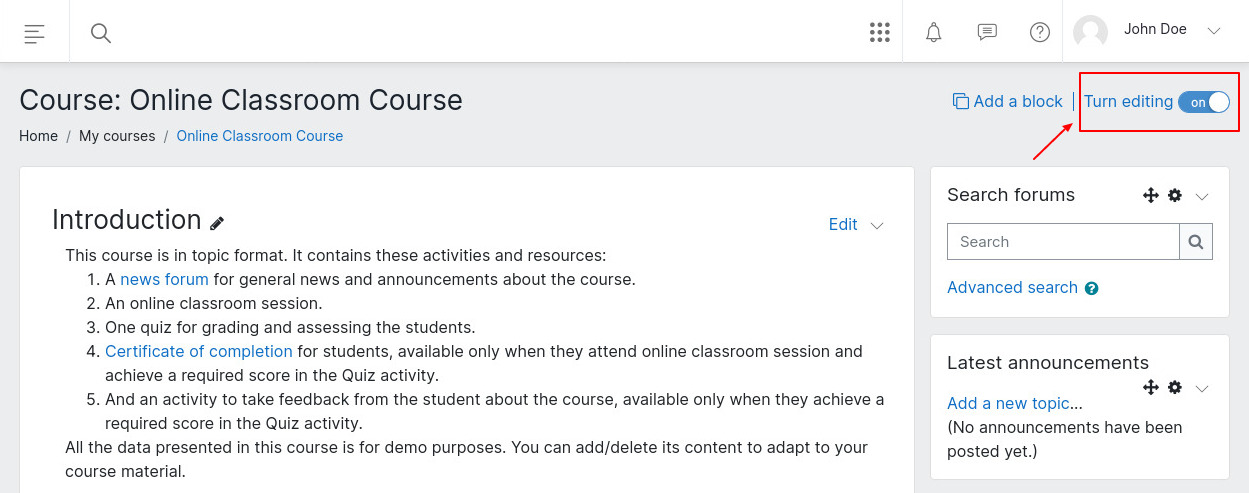
Step 1: Go to the desired course and Turn editing on
Step2: Click on Add an activity/resource link

Step 3: Enable Time Tracker, feed the desired values for ‘Maximum idle time’, and ‘Allowed idle time’.
Step 3: Save the changes and you are done!
Activity restriction based on Tracked Time #
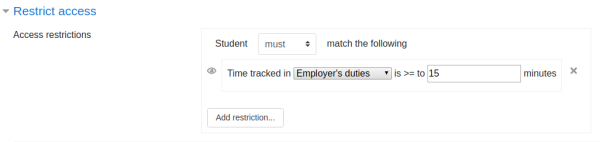
Once Time Tracker is enabled in an activity you can then restrict another activity/resource based on the tracked time of a student. For instance, let’s say you have an activity that must be restricted (must not be accessed) unless a student has spent at least 30mins in previous activity. In such cases you can enable Restrict access settings of the following activity. Let’s see how you can do that.
Step1: Add the following activity by clicking on Add an activity link
Step2: Fill all the details of the activity and then scroll down on the settings page until you reach the “Restrict access” section, expand it and then click on the “Add restriction” button. After this make the desired settings to restrict this activity.
Time Tracker block for quick reporting (For user end) #
With the Time Tracker block you can show student exactly how much time he/she has spent in the activity and in the entire course. The block lists all the activity where you have enabled Time Tracker. Here is an example of it.
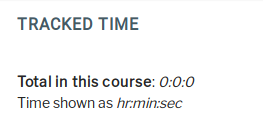
To enable this block on a course’s sidebar, follow these steps.
Step 1: Go to the desired course and Turn editing on
Step2: Click on Add block from the top button which is just beside the Turn editing on button.
Step3: A popup will open, scroll down until you see the Time Tracker. Click on it to add to the course page, and you are done!
How to make best use of this feature? #
Time Tracker feature could be useful in cases where an Institute has a criteria of minimum time spent for acquiring an accreditation or certification. Not limited to that, you can always use this feature for understanding the behavior of your students.
With the help of “Max. idle time” and “Allowed idle time” settings you can get the accurate tracked time of the students. The lower the numbers are, the more accurate results you will have which you can then use to implement restrictions within the course. At the same time it could be annoying if students have to see the “Resume course” popup every couple of minutes. So you have to find that balance of getting the accurate results settings without disturbing the learning experience of your students.